
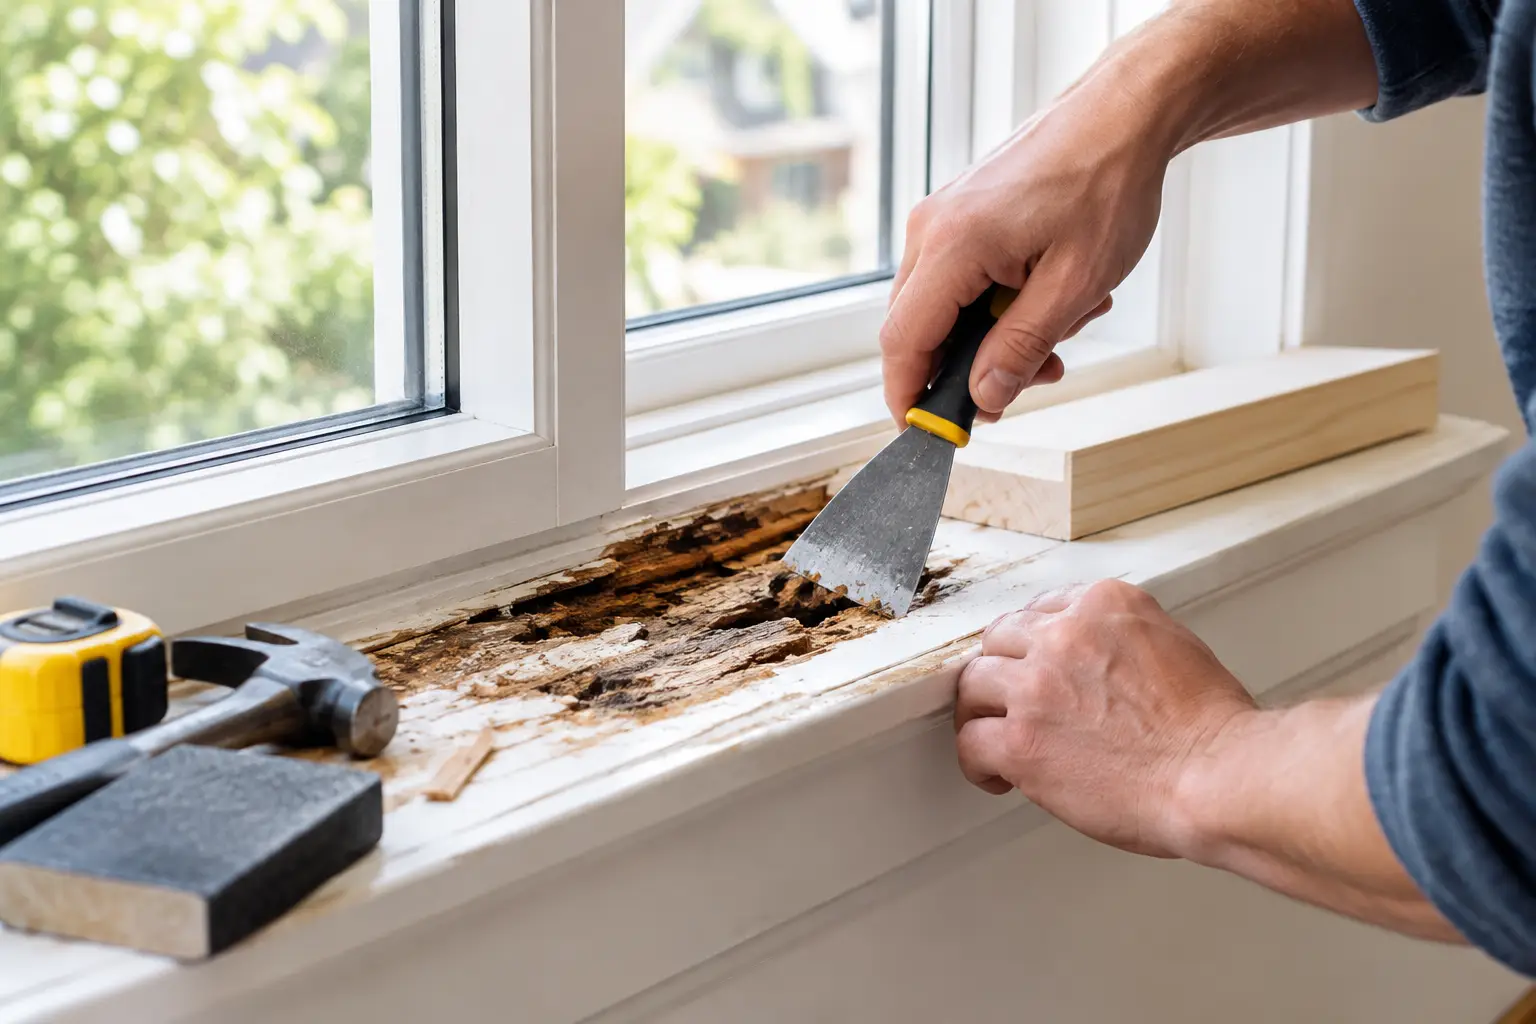
How to Repair Rotted Window Sills Properly
A soft spot at the corner of a window sill is rarely just a cosmetic problem. On a historic wood window, it is often the first visible sign that water has been working behind failed paint, open glazing, or missing flashing. To repair rotted window sill damage properly, you have to stop the moisture first, then determine how much original wood can still be saved.
Full window replacement is not the answer to every damaged sill. Many homes built before 1940 have old-growth wood components that remain stronger and more stable than modern replacement lumber. Careful repair can preserve the original profile, sash opening, trim details, and character of the home while making the window weather-resistant again.
What Causes a Window Sill to Rot?
A sill is designed to shed water, but it cannot do that job when maintenance has been deferred or surrounding details have failed. Rainwater may sit on a flat or improperly sloped sill, seep through cracked glazing putty, or enter at the joint where the sill meets the side casing. In North Texas, repeated sun exposure can split paint and open those pathways quickly.
The source may also be above the window. A missing drip cap, failed over-window flashing, roof runoff, or an exterior detail that directs water toward the opening can keep a sill wet long after rain has stopped. If the cause is not corrected, even a beautifully patched sill will rot again.
Historic windows add another consideration: the sill, jambs, sash, brick molding, and interior trim work together. Rot that appears limited to the exterior edge can extend beneath the sash track or into the lower ends of the side jambs. That is why a screwdriver test alone is not enough to plan a lasting repair.
How to Tell Whether the Sill Can Be Repaired
Sound wood resists pressure and holds a crisp edge when probed. Deteriorated wood feels spongy, flakes apart, or allows a tool to sink in with very little force. Paint that is bubbling or separating from the wood is another common warning sign, especially along the lower corners and end grain.
A small, isolated area of decay can often be stabilized and rebuilt. The key is whether solid wood remains around it and whether the sill still performs its structural job. If rot is shallow and confined to an exposed corner, a preservation-minded repair may retain most of the original sill.
More extensive damage calls for a different approach. If the sill is soft across its width, the mortise joints have failed, the sash no longer has a stable surface to close against, or decay has reached the framing, a partial or full sill replacement may be necessary. This does not mean replacing the entire window. It means rebuilding the failed component to match the original work.
For homes in a Dallas Conservation or Historic District, the visual details matter as much as the repair itself. The slope, drip edge, horn shape, molding profile, and width of the sill should be retained or accurately copied. A generic piece of lumber may close the hole, but it can permanently alter the appearance of the window opening.
Repair Rotted Window Sill Damage in the Right Order
The best repair sequence begins with investigation, not filler. A professional restoration crew typically removes loose paint, failed putty, and decayed fibers until it reaches clean, sound wood. This reveals the actual boundary of the damage and prevents new material from being attached to wood that is already failing.
Next, the moisture source must be addressed. That may involve restoring glazing, repairing joints, adding period-appropriate flashing, correcting a drainage issue, or rebuilding the sill with the correct outward slope. A sill should move water away from the window, not hold it against the sash or casing.
Once the area is dry and stable, the repair method depends on the scale of the loss. Small voids can be consolidated and shaped with a high-quality exterior wood repair system. Moderate areas may require a carefully fitted Dutchman repair, where damaged material is cut out and a matching piece of sound wood is spliced into place. Larger failures often require custom fabrication of a new sill section or an entire sill, matched to the existing profile and joinery.
The repair is then sealed, primed, and painted as a complete weather-management system. Edges, end grain, joinery, and the transition between old and new wood deserve particular attention. Finally, the sash must be checked for fit and operation. A sill repair that causes a historic sash to bind, sit out of square, or fail to latch is not finished work.
When Epoxy Is Appropriate – and When It Is Not
Epoxy has a place in wood preservation, but it is not a cure-all. Used correctly, it can consolidate slightly softened fibers and rebuild minor losses where enough stable wood remains. It is especially useful for retaining small, distinctive areas that would be difficult to replace without disturbing surrounding original material.
It is the wrong choice when it is used to cover active decay or substitute for missing structure. A thick epoxy patch over wet, deteriorated wood may look smooth for a season, then separate as the rot continues underneath. It also cannot correct a sill that has lost its slope, failed at its joints, or become too weak to support the window assembly.
The trade-off is simple: a patch is less invasive and may cost less at first, but only when the damage is genuinely limited. Custom wood repair requires more skilled labor, yet it provides a more appropriate long-term solution when a significant portion of the sill is gone. Historic restoration is not about saving every splinter. It is about retaining original fabric where it remains sound and replacing only what has truly failed.
Why Matching the Original Woodwork Matters
Window sills are not interchangeable boards. Older homes often use dimensions, grain orientation, slopes, and profiles that are not available at a lumberyard. The original sill may include a shaped nose, a narrow groove that sheds water, or joinery that locks it into the jambs and frame.
A proper replacement section is fabricated to work with those details. Wood selection matters, too. A stable, paint-grade species with appropriate grain orientation will perform better than a fast shortcut made from unsuitable stock. The goal is a repair that looks like it belongs to the house because, functionally and visually, it does.
This level of accuracy also protects the value of original sash windows. When a sill is rebuilt around a modern replacement-window approach, installers may cut back trim, cover historic details, or change the dimensions of the opening. Preserving the existing assembly avoids those unnecessary losses and keeps future restoration options open.
Do Not Overlook the Window Above the Sill
A repaired sill will not stay sound if the sash continues to admit water. Cracked glazing putty, loose glass, failed paint, and gaps at the meeting rails can all direct moisture onto the sill. The window should be assessed as a whole, including the sash, jambs, casing, weatherstripping, and exterior drainage details.
This is also the right time to improve performance without changing the historic appearance. Restored sash, properly applied linseed putty glazing, durable paint finishes, and well-fitted operable storm windows can reduce drafts, noise, and heat gain while protecting the repaired wood from the weather. For homes that deserve better, preservation and comfort should work together.
When to Call a Historic Window Specialist
A homeowner can sometimes handle paint maintenance and very minor surface repairs. Call a specialist when decay reaches the sill-to-jamb joints, affects operable sash, appears on multiple windows, or returns after prior repairs. Those conditions point to a broader water-management or structural issue.
Specialized help is also wise when the home is located in a regulated historic area. A period-correct repair can preserve approval options and prevent an avoidable change to a character-defining feature. Ross Revival evaluates the entire opening, then restores or fabricates only what the window needs – no one-size-fits-all replacement plan.
A sound window sill should feel solid, shed water cleanly, and support a sash that opens and closes as it should. Address the first soft spot before it becomes a lost window detail. The right repair protects the wood, the comfort of the room, and the craftsmanship that made the home worth preserving.