
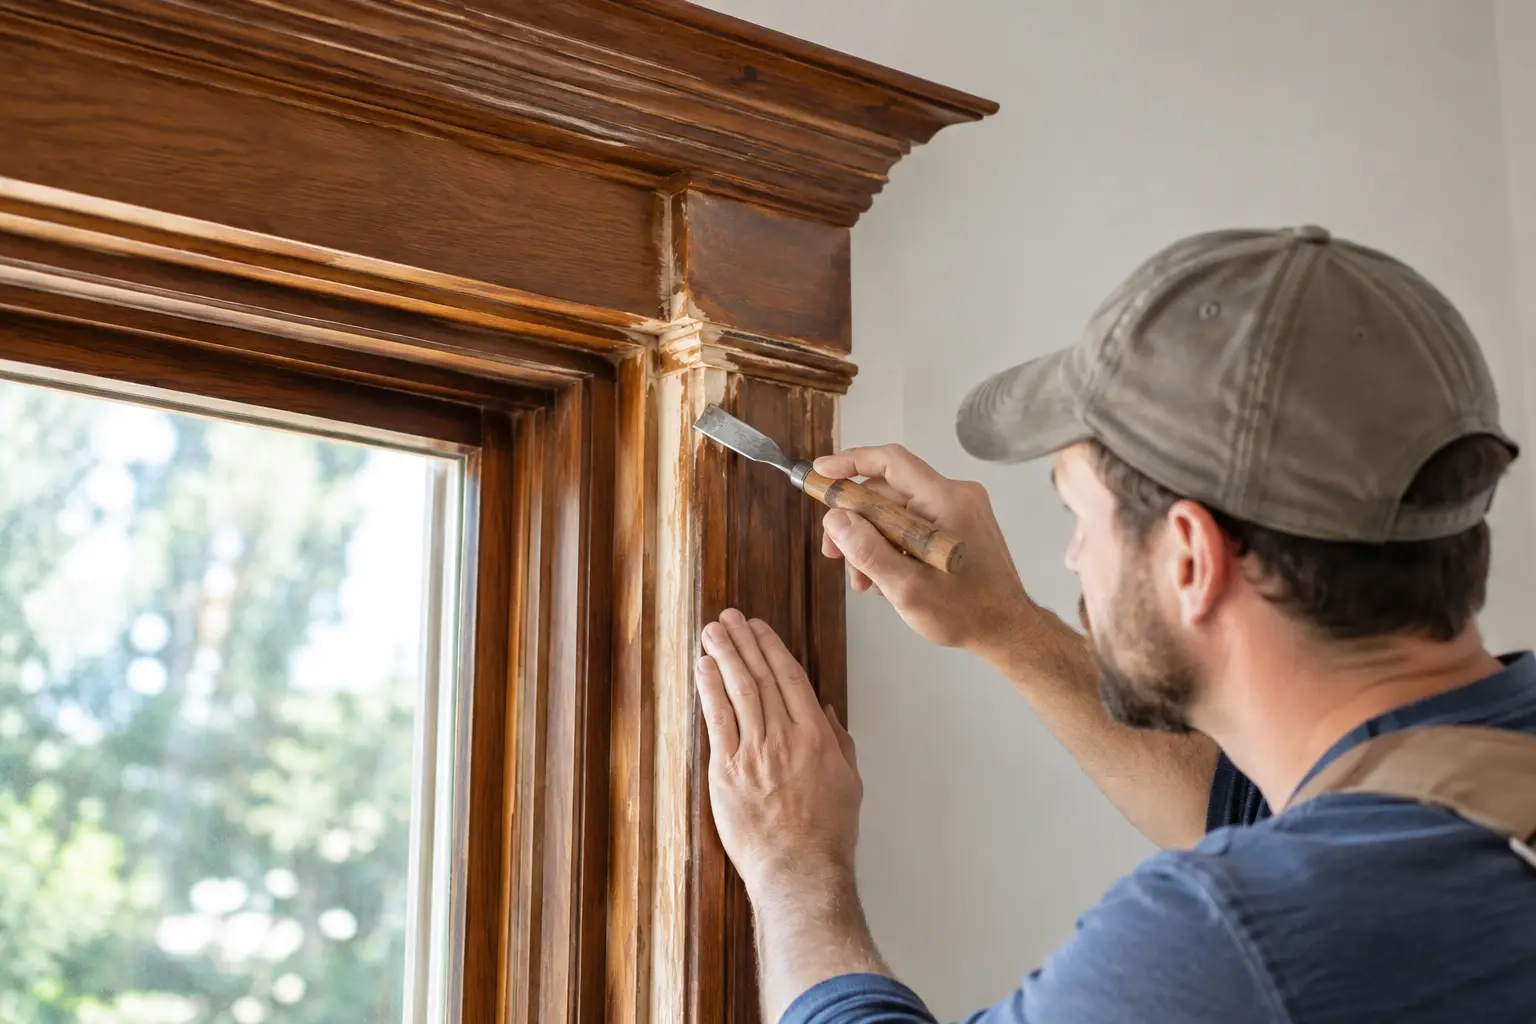
Historic Wood Trim Repair That Respects Your Home
A soft spot beneath a window, peeling paint at a corner board, or a sill that stays dark after rain is rarely just a cosmetic problem. Historic wood trim repair protects the details that give an older home its character while addressing the moisture problems that can quietly spread behind the paint.
For homes built between 1870 and 1940, exterior trim was not an afterthought. Window casings, sills, apron boards, cornice details, and decorative moldings were made to frame the house with proportion and depth. When those original elements begin to fail, replacement with generic stock lumber or composite trim may close the hole, but it often changes the home’s appearance permanently.
The better question is not simply, “Can this wood be replaced?” It is, “What original material can be saved, what caused the damage, and how can the repair keep water out for the long term?”
Why Historic Trim Fails
Wood does not fail because it is old. It fails when water is allowed to remain where it should drain, evaporate, or be blocked from entering in the first place. On historic homes, the trouble often begins at a window opening. Failed glazing, open paint joints, missing drip edges, poor flashing, clogged gutters, and leaking storm windows can direct water into the sill and surrounding trim.
North Texas weather adds its own pressure. Intense sun breaks down paint films. Sudden heavy rain finds every open joint. Heat causes materials to expand and contract. Over time, a small crack at the top of a window casing can become a soft sill, deteriorated jamb, and damaged wall framing if it is ignored.
Previous repairs can also create problems. Wood filler spread over wet rot, caulk packed into drainage paths, and replacement boards installed without proper flashing may make the damage less visible for a season. They do not solve the source of the moisture. A sound repair starts by finding out why the wood deteriorated.
Historic Wood Trim Repair Begins With Preservation
The first goal is to retain sound original wood. Old-growth lumber used on many historic homes is often denser, more stable, and more repairable than the material commonly available today. A board with localized decay does not automatically need to be removed in full. If most of it remains solid, a skilled repair can preserve the original profile and leave the surrounding historic fabric intact.
This requires judgment. Paint is removed or carefully opened where needed, and the wood is tested for softness and extent of decay. The repair area must be taken back to sound material. Any loose fibers, trapped moisture, or failed patching must be addressed before new wood is introduced.
When only a lower corner of a sill or a section of casing has failed, a dutchman repair may be the right approach. A matching piece of wood is shaped to fit the removed area, then installed so the joint is stable, discreet, and protected by the finish system. The original board remains in place where it is still doing its job.
When deterioration runs through the full length of a board, replacement may be more responsible. The replacement should match the original species, thickness, profile, and proportions as closely as practical. A flat modern board installed where a historic casing once had a molded edge will always look like a shortcut, especially on a front elevation.
Matching the Profile Matters
Historic trim creates shadows. Those shadows are part of the architecture. The stepped edge of a casing, the slope of a sill, and the small bead along a molding can look subtle from the sidewalk, but they give an older home its scale and rhythm.
Off-the-shelf trim rarely matches these details. On-site fabrication allows a repair to follow the existing profile rather than forcing the house to accept a near match. This is especially valuable for homes in Dallas Conservation and Historic Districts, where visible changes may need to meet preservation requirements.
A proper match also prevents the patchwork appearance that develops when trim is repaired one piece at a time with whatever material is available. The goal is not to make every board look new. It is to make the repair belong to the house.
Repair the Water Path, Not Just the Rot
A durable trim repair has two parts: restoring the wood and correcting the conditions that damaged it. If the water path remains, even beautifully crafted work will be asked to fail again.
Around windows, that can mean addressing failed putty and glazing, gaps between trim and siding, or a sill that no longer sheds water properly. It may mean adding or rebuilding over-window flashing where water is entering from above. In other cases, the condition of the sash itself is part of the problem. A window that does not close correctly, lacks weatherstripping, or allows rain to reach the wrong areas can continue to affect the trim around it.
Caulk has a role, but it is not a cure-all. It should be used selectively at appropriate joints after the wood is dry and properly prepared. Caulk cannot stabilize decayed wood, and it should not block designed drainage routes. Paint also matters. A quality exterior coating system protects the repair from sun and moisture, but only when the substrate beneath it is sound.
When a Patch Is Enough and When It Is Not
Homeowners often worry that repair means accepting a lesser result. Done correctly, repair can be the stronger choice because it preserves valuable original material while replacing only what has actually failed. Still, there are times when a patch is not enough.
Full replacement is usually warranted when decay has compromised the board across its width and length, when fasteners no longer have solid wood to hold, or when hidden damage extends into the framing. It may also be the appropriate choice when prior repairs have left the detail too altered to restore cleanly.
The decision depends on the extent of deterioration, the trim’s architectural importance, and the cause of the damage. A small area of rot on a simple rear window may call for a practical splice. A deeply deteriorated decorative front casing may justify careful replication. Neither decision should be made from a photograph alone or based solely on whether the paint looks bad.
Avoid the Shortcuts That Cost More Later
The most expensive trim repair is often the one performed twice. Filling large voids with body filler, covering rot with a thin cap, or replacing detailed woodwork with PVC without addressing flashing can delay the visible problem while increasing the hidden one.
Composite materials can have a place on certain homes and in certain exposures, but they are not automatically the best answer for a historic property. They expand differently than wood, may not hold traditional profiles the same way, and can look out of place beside original millwork. More importantly, changing the material does not correct water entering behind it.
The same caution applies to window replacement. Removing original wood windows to solve failing trim can sacrifice repairable historic fabric without fixing the underlying drainage or flashing issue. Full window replacement is not your only option. Restoring the sash, reglazing the glass, repairing the surrounding wood, and adding properly built storm windows can preserve the opening while improving comfort and weather resistance.
Plan Repairs Before Paint Season
Fresh paint can make deteriorated trim look sound for a short time. Before committing to exterior painting, inspect sills, casing bottoms, horizontal ledges, and trim joints for cracks, softness, open seams, or staining. Pay particular attention to the lower corners of windows and areas beneath gutters and roof transitions.
If you can press a screwdriver gently into suspect wood and it sinks easily, the area needs attention. If paint is peeling in the same location repeatedly, moisture is likely involved. These are signals to investigate, not reasons to apply a heavier coat of paint.
A careful assessment can identify which pieces need localized repair, which should be replicated, and whether the windows, flashing, or drainage details need work at the same time. Coordinating these repairs protects the investment in painting and prevents the cycle of patch, paint, and repeat.
Your home’s original trim has already served for generations. With sound woodwork, proper water management, and finishes that are maintained before failure spreads, it can continue to frame the house as it was meant to – with craftsmanship that still belongs there.