
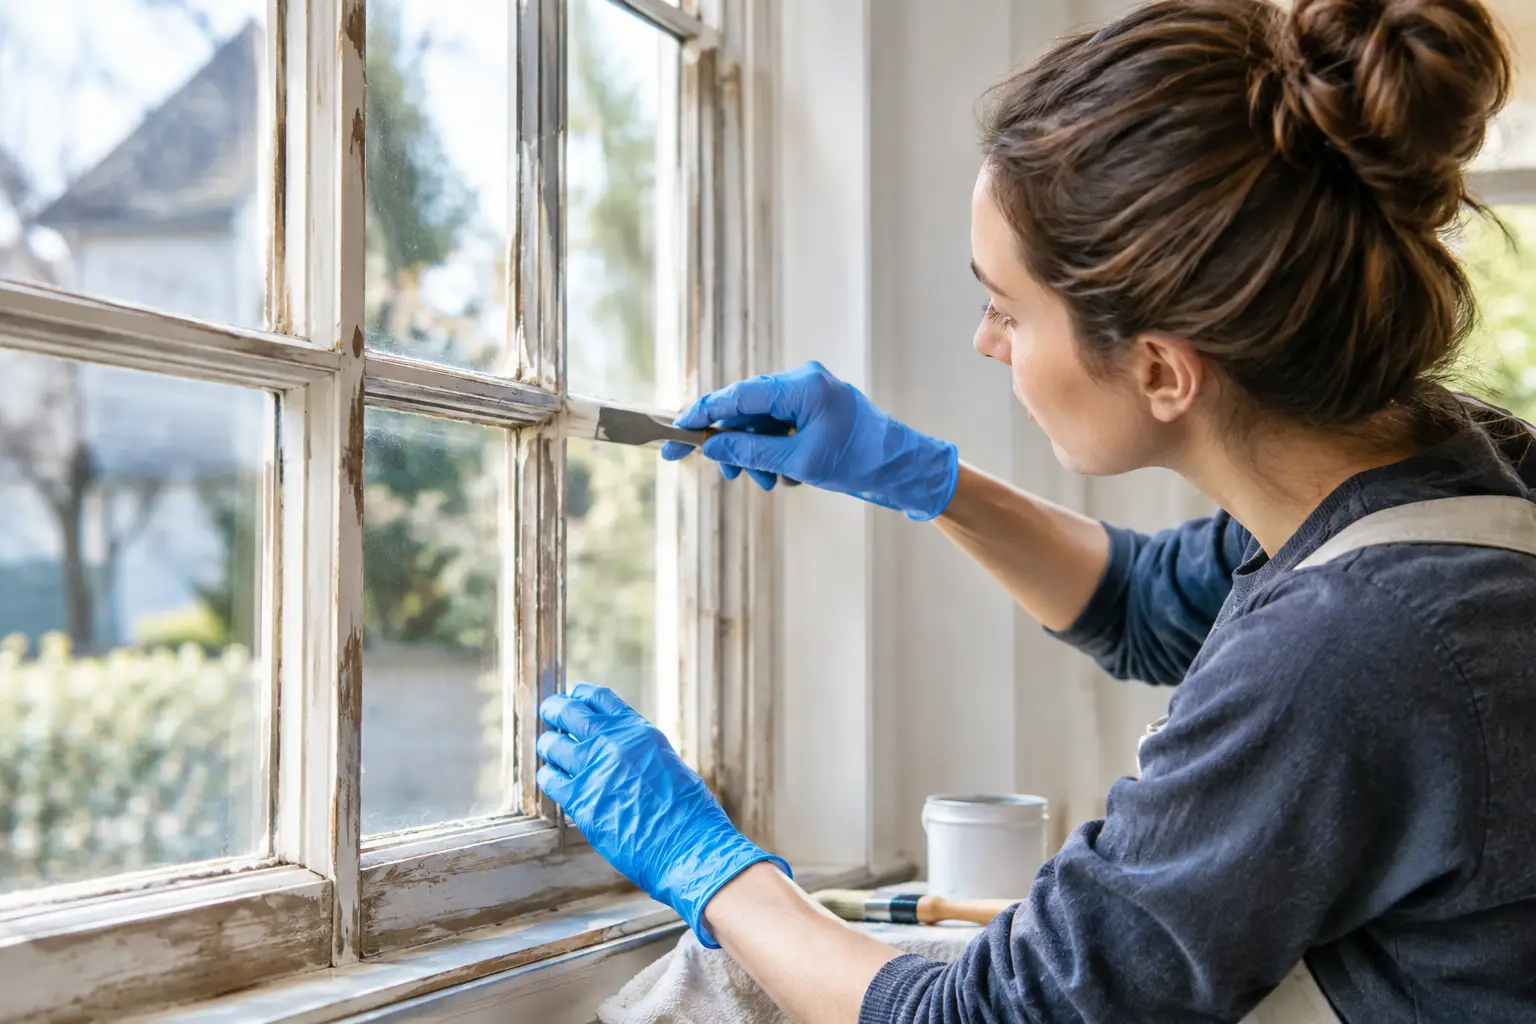
How to Reglaze Old Windows Without Losing Character
A loose pane of glass, cracking putty, and a cold draft at the sill can make a historic window look beyond saving. Usually, it is not. Knowing how to reglaze old windows starts with recognizing what has failed: the glazing compound that seals the glass to the sash, not necessarily the window itself. Proper reglazing can protect original wood, stop water from working into the sash, and keep an irreplaceable part of your home in service.
For homes built between 1870 and 1940, this work deserves more care than a tube of hardware-store caulk and a fresh coat of paint. Original wood windows were made to be repaired. Reglazing is one part of that repair, and it works best when the sash, paint, glass, weatherstripping, and drainage details are considered together.
When an Old Window Needs Reglazing
Window glazing is the sloped bead of putty on the exterior side of a wood sash. It holds the glass firmly in place and sheds water away from the joint between the pane and the wood. When it cracks, separates from the glass, turns brittle, or falls out, rain can reach the glazing rabbet. That is where small maintenance problems become wood rot.
Look closely at the perimeter of each pane. Dark gaps between the putty and glass, exposed metal glazing points, loose glass, and peeling paint along the muntins are common signs that reglazing is due. Condensation between a storm window and the primary window can also reveal failed paint or glazing, although condensation itself may be a ventilation issue rather than a glazing issue.
A window does not need every pane reglazed just because one section has failed. Selective repairs can make sense when the surrounding putty remains sound and well bonded. But if glazing is failing across several sashes, a full restoration approach is often more economical than returning year after year to patch the same windows.
Before You Reglaze: Assess the Sash and the Paint
Reglazing should not be used to hide a failing sash. Check the bottom rail, lower corners, muntins, and the wood immediately beneath the old putty. Probe soft-looking areas gently. Sound old-growth wood can often be cleaned, consolidated, and repaired. Extensive decay may require a carefully matched wood repair or partial sash rebuild before new glass and putty are installed.
Also consider lead-safe work practices. Many historic homes have layers of pre-1978 paint, and sanding, scraping, or heating that paint without proper containment creates a real health hazard. Use appropriate personal protection, control dust, and follow applicable lead-safe practices. A contractor experienced with historic windows will plan this before disturbing old coatings.
Remove the sash when possible. Working on a stable, supported sash at a bench produces cleaner glazing lines and reduces the risk of breaking original glass. That said, removal may not be simple on windows with painted-shut stops, fragile trim, damaged cords, or complex counterweight systems. For these windows, the repair should include getting the sash operating correctly rather than forcing it free.
How to Reglaze Old Windows Step by Step
The best results come from patient preparation. New glazing compound cannot compensate for loose glass, wet wood, or a surface still contaminated with failing paint.
Remove failed putty without damaging the glass
Start by carefully removing loose and cracked glazing compound. A hand tool and controlled heat can soften stubborn material, but too much heat can crack glass, scorch wood, or disturb old paint. Infrared heat tools are often preferred for controlled paint and putty removal, while open flames have no place around historic sash.
As the old putty comes away, locate and remove the glazing points holding the pane. Original glass is often wavy, thin, and full of character. Save it whenever it is intact. Replacement glass can be cut to fit, but it rarely has the same visual depth as historic cylinder or drawn glass.
Once the glass is out, clean the rabbet thoroughly. Remove remaining putty, loose paint, dust, and decayed wood fibers. The bare wood must be dry before moving forward.
Repair and prime the glazing rabbet
Make needed wood repairs before reinstalling the pane. Small voids may be addressed with a compatible repair method, while deteriorated muntins or rails may need custom woodwork. This is not the place for a quick filler that traps moisture or fails under seasonal movement.
Prime the glazing rabbet with a quality oil-based primer or another coating compatible with the glazing compound being used. Priming helps prevent the wood from drawing oils out of traditional putty too quickly. Without that barrier, the compound can dry prematurely, lose adhesion, and crack sooner than it should.
Bed the glass and set new points
Apply a thin bedding layer of glazing compound in the rabbet before setting the glass. This unseen layer is critical. It cushions the pane, seals the interior edge, and helps keep water and air from moving behind the glass.
Press the pane gently into place. There should be a small clearance around the glass for expansion, especially on larger panes. Then install new glazing points at appropriate intervals. They hold the glass mechanically while the glazing compound cures, so do not rely on putty alone to keep the pane secure.
Apply the finish glazing
With the glass firmly bedded and pointed, apply a continuous bead of glazing compound around the exterior perimeter. Traditional linseed-oil putty remains a proven choice for historic wood sash because it stays workable, moves with the wood and glass, and can be maintained over time. Some modern compounds are suitable as well, but compatibility with primer and finish paint matters.
Tool the compound into a clean, angled bevel from the glass to the outer edge of the rabbet. From inside the house, the putty line should not be visible beyond the edge of the sash. A straight, consistent sightline is more than cosmetic. It tells you the compound is shedding water in the direction it should.
Avoid applying an oversized bead to hide uneven wood. Heavy putty takes longer to cure and is more likely to slump or crack. If the rabbet is too damaged to form a sound glazing line, repair the wood first.
Let the putty cure, then paint it correctly
Glazing compound needs time before painting, and cure times vary by product, weather, and thickness. Follow the manufacturer’s guidance rather than rushing the finish. North Texas heat can speed skinning, but it does not always mean the putty has cured properly beneath the surface.
When ready, paint slightly onto the glass – typically about 1/16 inch – to seal the putty-to-glass joint. This narrow paint lap helps block water from getting behind the glazing. Use a durable exterior coating system, including proper primer where needed. A well-built finish is part of the weather seal, not merely decoration.
Reglazing Solves Water Entry, Not Every Draft
Fresh glazing is necessary when putty has failed, but it is not a complete energy retrofit on its own. Air often moves around the sash edges, through gaps at the meeting rail, and through poorly fitted parting beads. If a window rattles, sticks, or will not lock, reglazing alone will not restore comfort.
A restored sash paired with weatherstripping and a properly fitted operable storm window can make a meaningful difference in drafts, sound transmission, and indoor temperature consistency. It preserves the original window while adding a protective air space. For many historic homes, that is a better-performing and more architecturally responsible solution than removing the original sash for a replacement unit.
When to Call a Historic Window Specialist
A capable homeowner can reglaze an accessible, sound sash with patience and the right materials. The trade-off is time. One pane may be manageable; dozens of panes with failed paint, broken cords, rotted rails, and missing storms become a restoration project, not a weekend task.
Professional help is especially worthwhile when original glass is fragile, sash components are decayed, lead paint is present, windows must meet historic-district requirements, or a home needs custom storm windows and screens. In Dallas Conservation and Historic Districts, preserving original materials can also be central to the approval process for exterior work.
Full window replacement is not your only option. The best next step is to look past the cracked putty and assess what the original window can still become: a working, weather-resistant piece of craftsmanship that continues to belong to the house.