
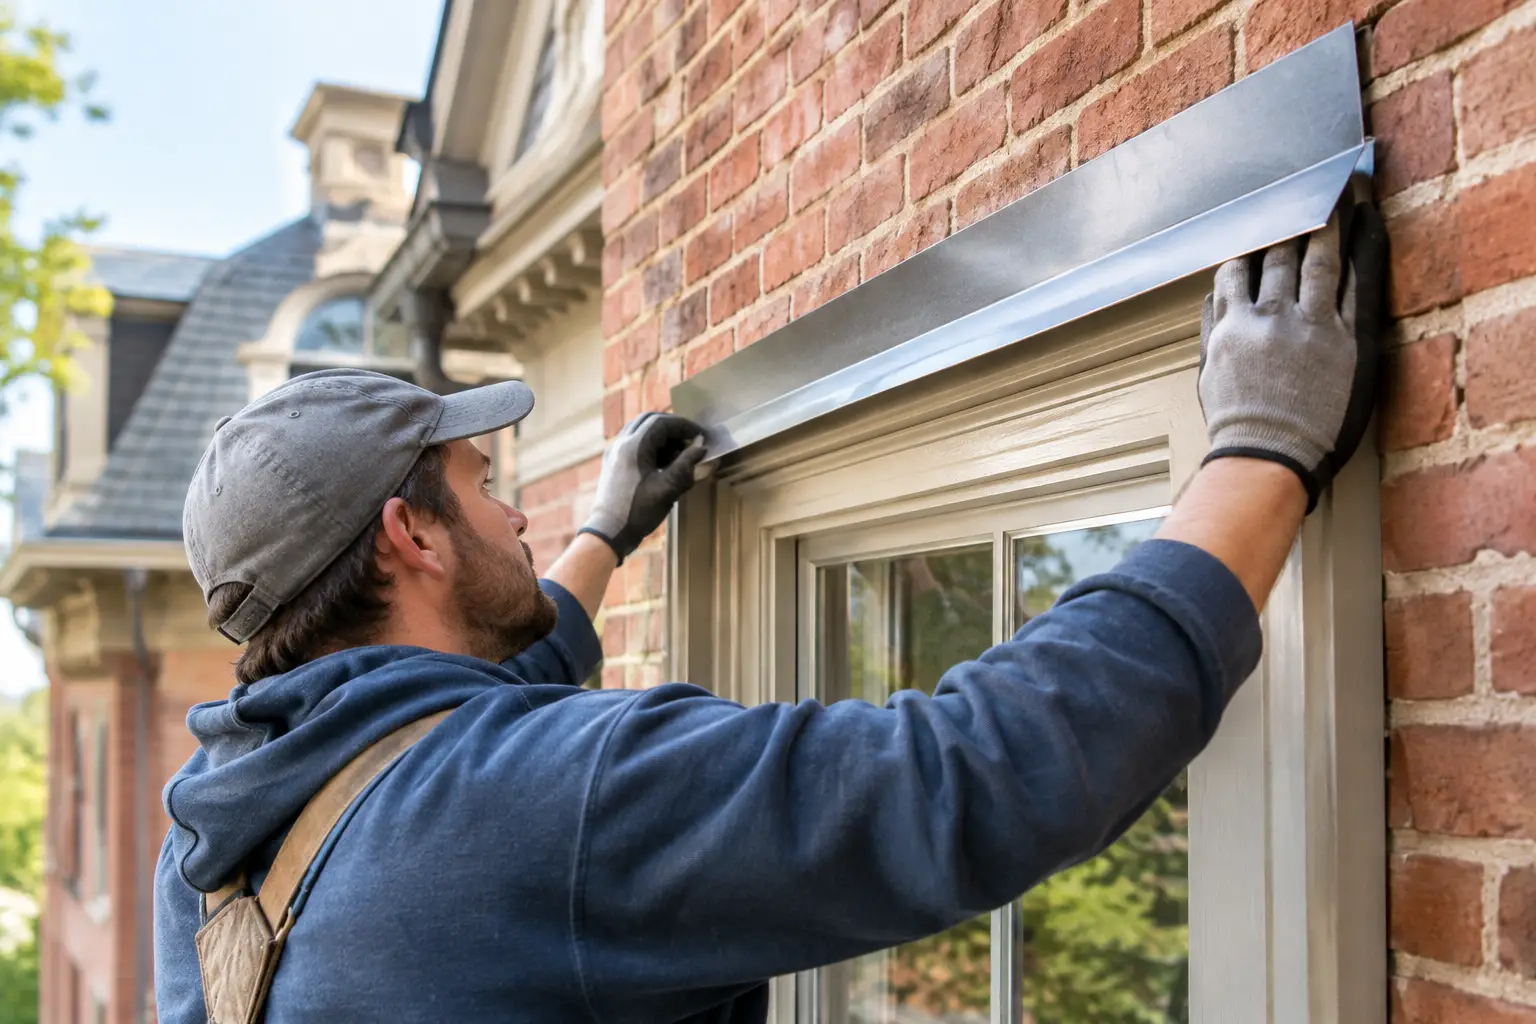
Over Window Flashing Installation for Historic Homes
Water damage above a historic window rarely starts where homeowners first see it. Peeling paint, a dark stain at the head casing, or a soft upper rail may be the visible result of rain entering higher up and working behind the trim. Proper over window flashing installation gives that water a controlled path back to the exterior before it can reach original wood, plaster, or framing.
For a home built between 1870 and 1940, that work should protect more than the window opening. It must respect the original casing, siding profile, masonry, and facade proportions that give the house its character. A poorly chosen piece of modern flashing can stop some water while creating a new problem: trapped moisture, damaged trim, visible metal where it does not belong, or a detail that does not meet historic-district expectations.
Why Historic Windows Need Flashing Above Them
A window is a break in the exterior wall, and every break needs a way to shed water. On many older homes, the head casing, brick lintel, or decorative hood once served part of that purpose. Time changes the equation. Paint fails, old sealant cracks, mortar joints open, and water begins to follow the path of least resistance behind wood trim.
North Texas weather makes small weaknesses matter. Wind-driven rain can push water into horizontal joints and narrow gaps that might seem harmless during a light shower. Sun then bakes the assembly dry from the outside while moisture remains behind painted wood. That repeated wet-dry cycle causes paint failure, rot, loose trim, and eventually damage to the sash or interior finishes.
Flashing above the opening is not simply a strip of metal added as an afterthought. It is a water-shedding detail that should direct water outward, past the face of the window and trim. When it is integrated correctly, it helps preserve the original material rather than covering up the reason it is failing.
Over Window Flashing Installation Starts With Diagnosis
The right flashing detail depends on what is above and around the window. Historic homes are not built from one standard assembly. A wood-frame bungalow with lap siding calls for a different approach than a brick Tudor, a stucco cottage, or a house with substantial painted wood casings.
Before any trim is removed, inspect the condition of the head casing, wall surface, paint layers, glazing, sill, and interior area above the window. Look for soft wood, open seams, water stains, failed caulk, displaced siding, cracked mortar, and evidence that water is entering from a roof, gutter, or wall penetration above. Flashing cannot correct a gutter that overflows directly onto the window or a roof leak that is traveling down inside the wall.
This is also the time to determine whether the problem is surface water or water entering deeper in the wall assembly. On a masonry opening, a failed lintel, cracked masonry, or missing cavity drainage may require masonry repair rather than a surface-mounted cap flashing. On a sided wall, the flashing needs to work with the layers behind the siding so water drains outward instead of being diverted behind the wall covering.
A careful assessment prevents a common mistake: sealing every visible joint with caulk. Caulk has a place at specific joints, but it is not a substitute for drainage. A wall detail should shed water by shape and overlap first, then use compatible sealant where needed.
Preserve the Original Trim Whenever Possible
Full window replacement is not the answer to a failed head-flashing detail. In many cases, the original casing can be carefully removed, repaired, and reinstalled after the wall opening is protected. If a section is too deteriorated to save, a matching wood repair or reproduction piece can retain the original profile and visual weight.
That matters because historic trim was not generic. Its reveals, corner blocks, crowns, and proportions were chosen for that house. Replacing it with flat stock or hiding it beneath oversized aluminum changes the facade even if the window itself remains in place.
What a Proper Flashing Detail Should Do
The goal is straightforward: collect water above the window, direct it out and away from the wall, and avoid trapping moisture behind the exterior finish. The exact materials vary, but the logic does not.
A proper detail usually includes a head flashing with an outward slope and a drip edge that projects beyond the face below it. That small break forces water to release and fall instead of curling back against the trim. The flashing must extend past the opening at both ends, with properly formed end dams or integrated side detailing where the wall system requires them. Without those details, water can run off the end of the flashing and enter behind the casing.
The upper edge is just as important. On a siding installation, the flashing should be tucked behind the weather-resistive layer and the siding above it, in shingle fashion. Each layer should overlap the one below so gravity carries water out. Installing flashing over finished siding and sealing its top edge may look tidy, but it often leaves the wall vulnerable if water gets behind that seal.
On masonry or stucco, the approach depends on the original construction and condition of the wall. The work may call for a carefully fitted metal cap, repair of a failed joint, or a more comprehensive drainage solution. Forcing a one-size-fits-all flashing profile onto brick can damage mortar, create an obvious visual interruption, and still fail to manage water behind the wall face.
Material Choices Matter on a Historic Facade
Not every metal belongs on every house. Painted galvanized steel, copper, lead-coated copper, and prefinished aluminum can all be appropriate in specific applications, but they perform and age differently. The choice should account for the wall material, paint system, exposure, original design, and whether dissimilar metals could create corrosion problems.
Copper is durable and can suit certain historic details, but its color and eventual patina may be too visually prominent on a modest painted-wood facade. Painted metal can disappear more effectively, provided the finish is durable and maintained. Aluminum is light and readily available, yet it can dent more easily and may not be the best choice where it contacts certain materials or needs to hold a crisp custom profile.
The visible edge should be deliberate. Some homes need a discreet flashing profile hidden behind restored trim. Others, especially masonry homes with traditional hoods or lintels, need a detail that reads as part of the architecture rather than an added patch. Period-appropriate work does not mean ignoring modern water-management principles. It means applying those principles without sacrificing the home’s original character.
Installation Errors That Lead to More Damage
Most flashing failures come from shortcuts, not from the concept of flashing itself. One frequent problem is fastening metal through vulnerable horizontal surfaces without properly sealing and integrating those penetrations. Another is installing a flat piece with no slope or drip edge, allowing water to sit against the wall and work underneath.
Improperly caulking the bottom edge is another concern. The lower edge often needs to remain open so incidental water can drain out. Sealing it shut can turn a small leak into concealed rot. Likewise, flashing that ends exactly at the window casing gives water a path behind the trim at both corners.
Overly aggressive removal can be just as harmful. Historic siding and trim may have survived for a century because it was repairable. Breaking sound pieces to speed up installation or replacing detailed wood with generic boards trades durable original craftsmanship for a short-term shortcut.
When Flashing Should Be Part of Window Restoration
The best time to address a failing head detail is often during exterior window restoration. With the sash removed for repair, glazing renewed, and damaged sill or casing sections exposed, the surrounding opening can be evaluated as one system. This allows the work to address the source of moisture instead of repainting over its symptoms.
At Ross Revival, flashing work is approached as part of protecting the original window and the wall around it. A restored sash, fresh linseed putty glazing, sound wood repairs, and a well-designed head flashing each do a different job. Together, they help the window operate, shed water, hold paint, and continue serving the house for decades.
Homeowners in Dallas Conservation and Historic Districts should also consider permit requirements before changing visible exterior details. A subtle profile, appropriate finish, and retained original trim can make the difference between a repair that belongs on the house and a modification that draws scrutiny for the wrong reasons.
If paint is failing above your windows or the head casing feels soft, do not wait for the damage to reach the interior wall. A careful inspection can identify whether flashing, trim repair, masonry work, or a larger restoration plan is the right next step. The goal is not to make an old house look newly replaced. It is to keep the craftsmanship that is already there dry, sound, and working.